NFDIY: Cloth Napkins
I love a good DIY.
Getting my hands working is therapeutic and good for the soul. Creating things also breeds a huge sense of accomplishment. We mentioned in our recent “3 ways to style a cloth napkin” blog that we made the napkins, and that’s a fact!
We’re sharing this step by step tutorial on how to make your own!!
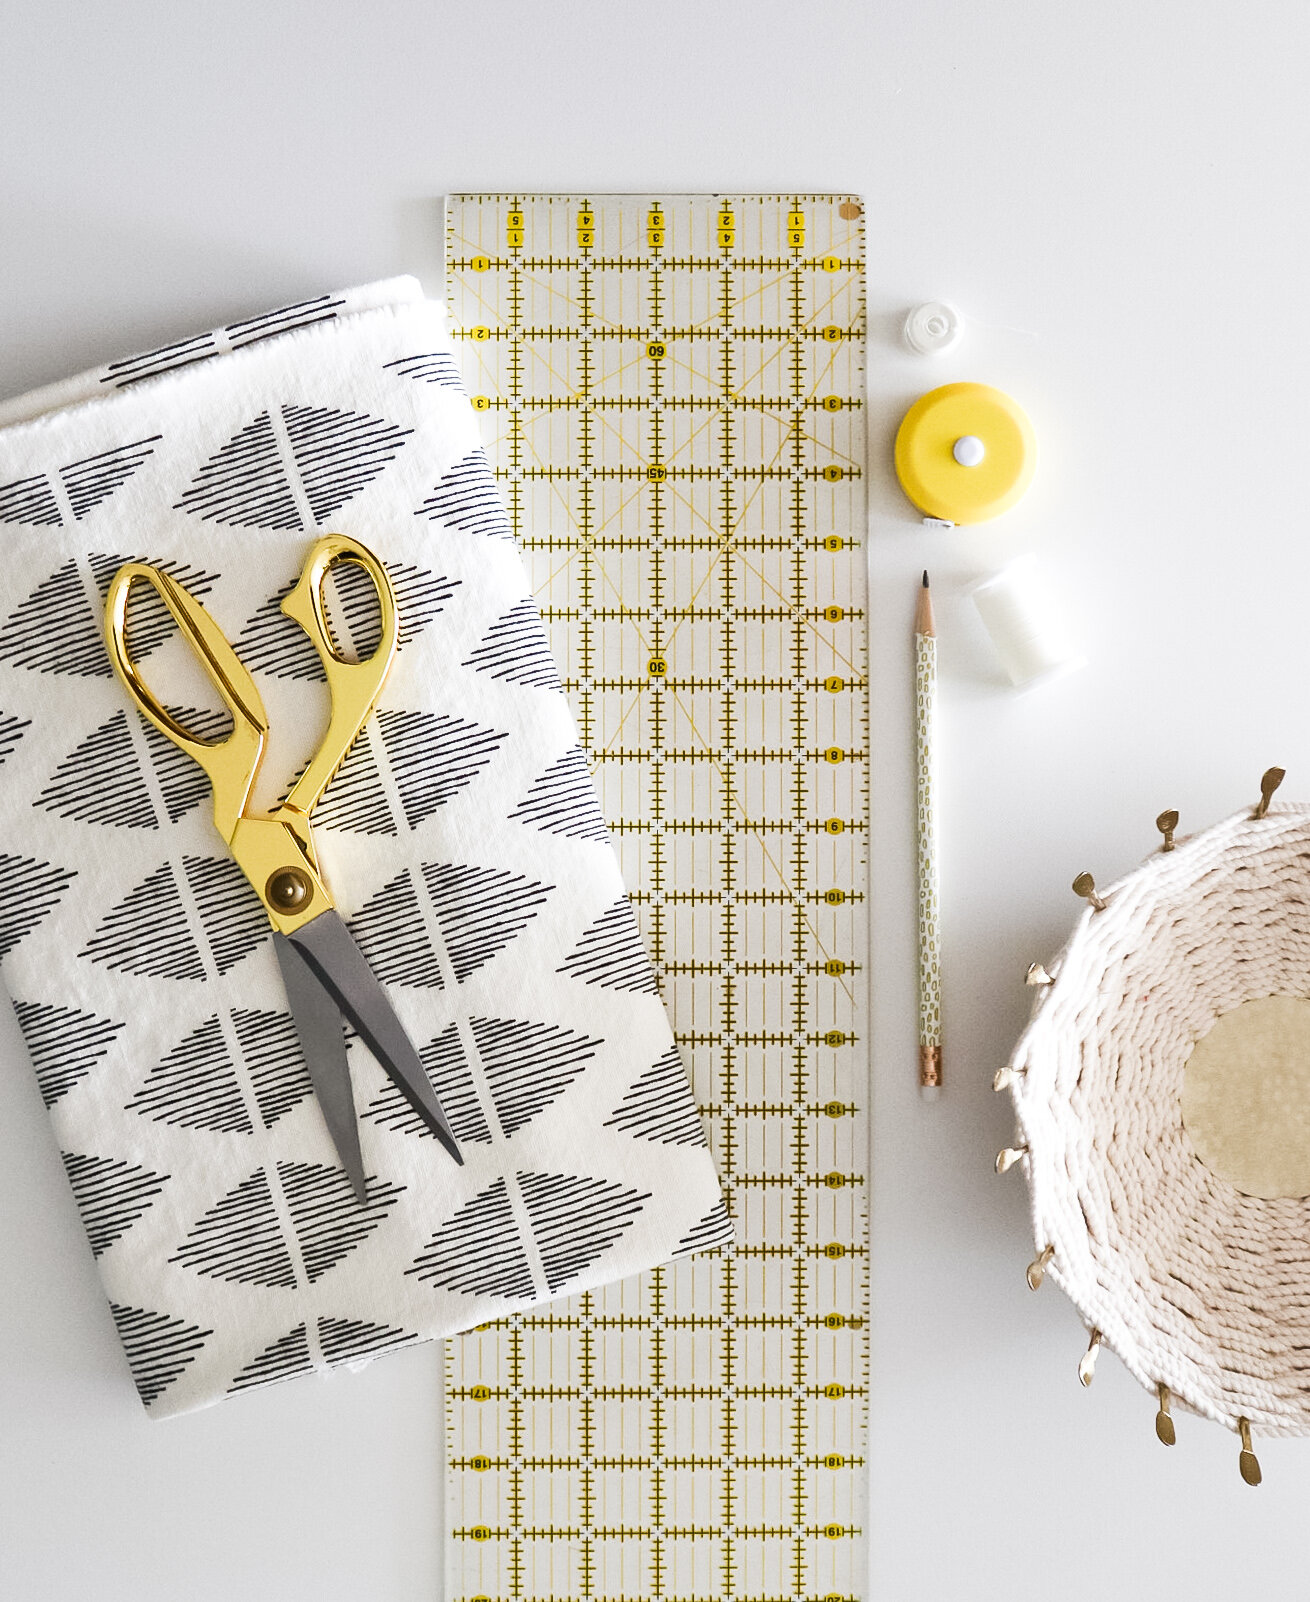
Materials
Fabric - 24”x24” for each 22” square napkin. Cotton and linen are ideal.
Tip: Use fabric remnants or repurpose an old tablecloth.
Matching Thread
Iron
Ruler
Pencil
Sewing scissors or rotary cutter and mat.
Sewing Machine
Walking foot if you have one for your machine
How to:
1. Pre-wash and dry fabric before cutting to allow for shrinkage.
2. Iron to remove any creases.
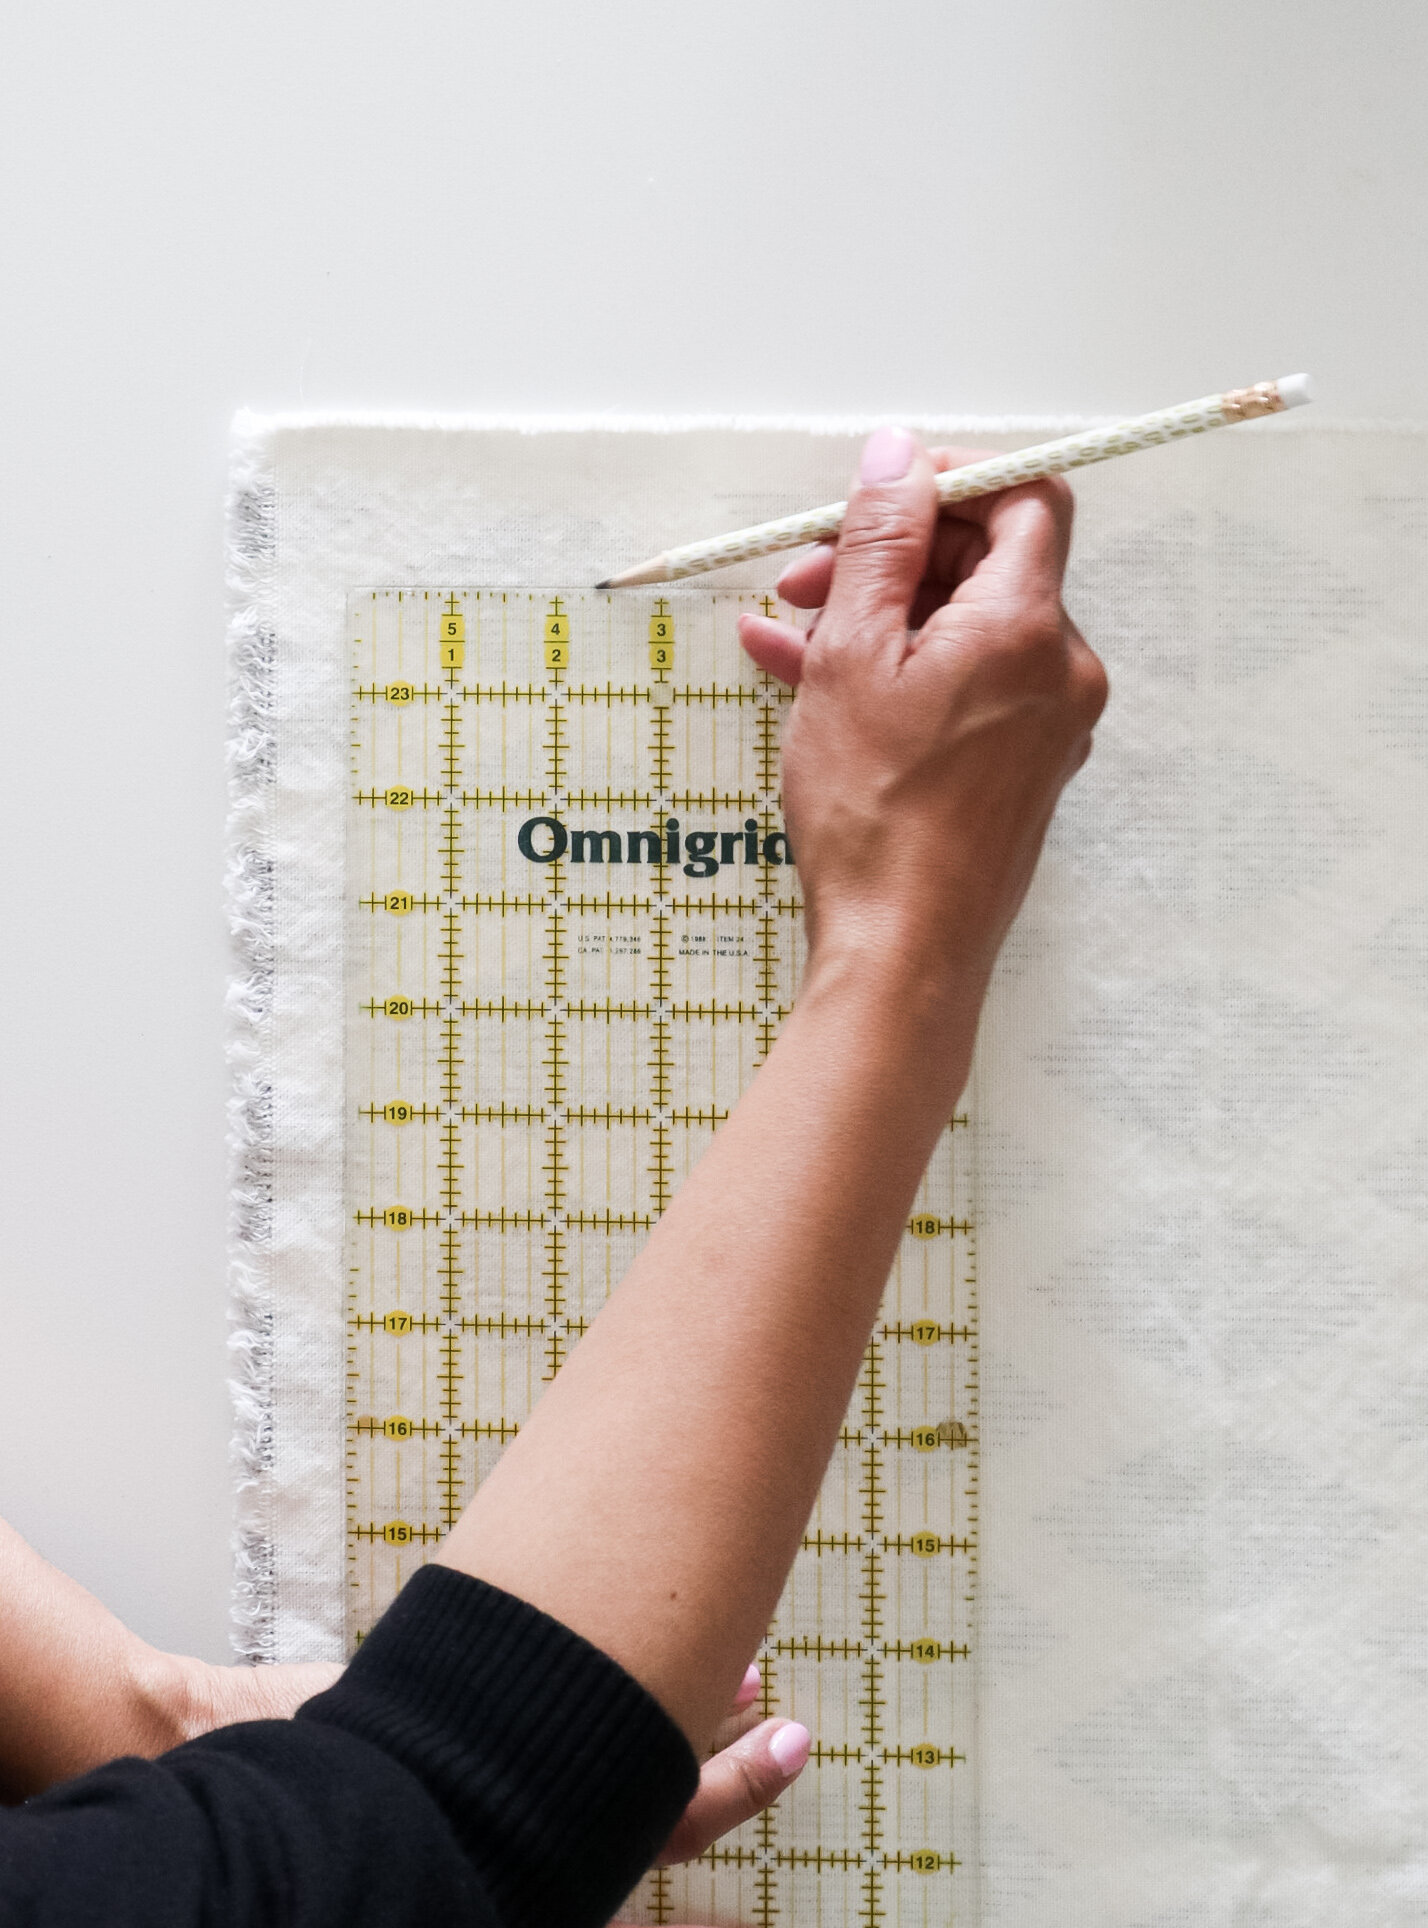
3. Mark a square on the back of fabric using pencil and a ruler. If using a patterned fabric, plan placement so the design is centered on the napkin.
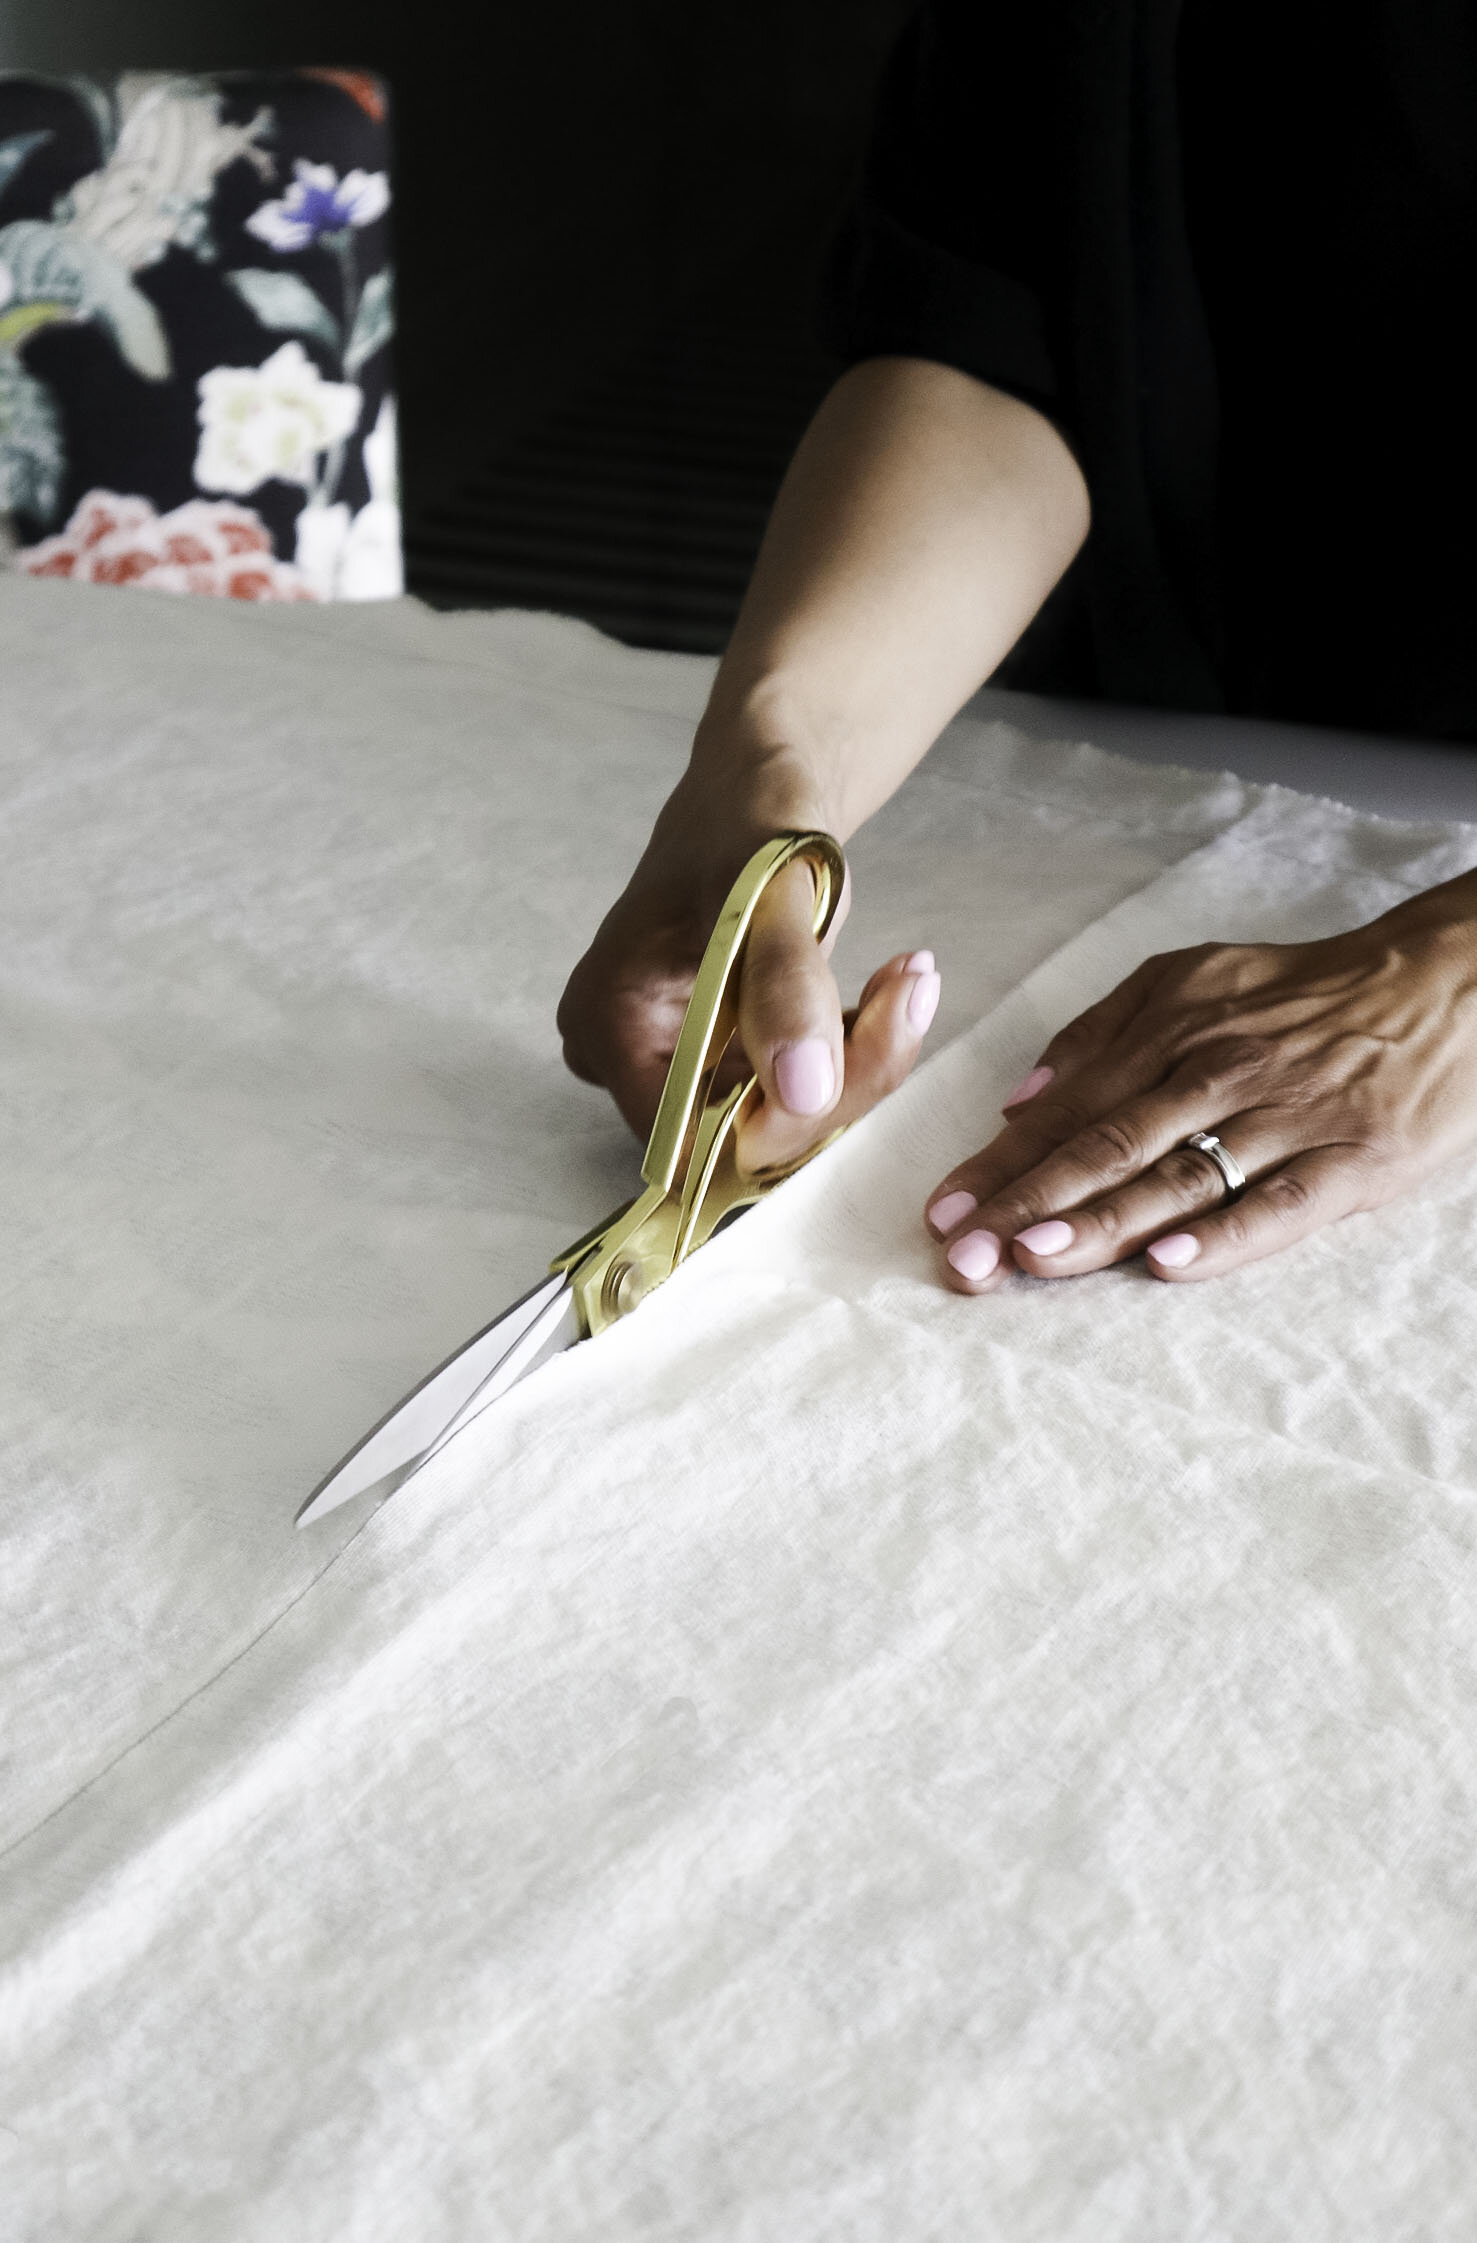
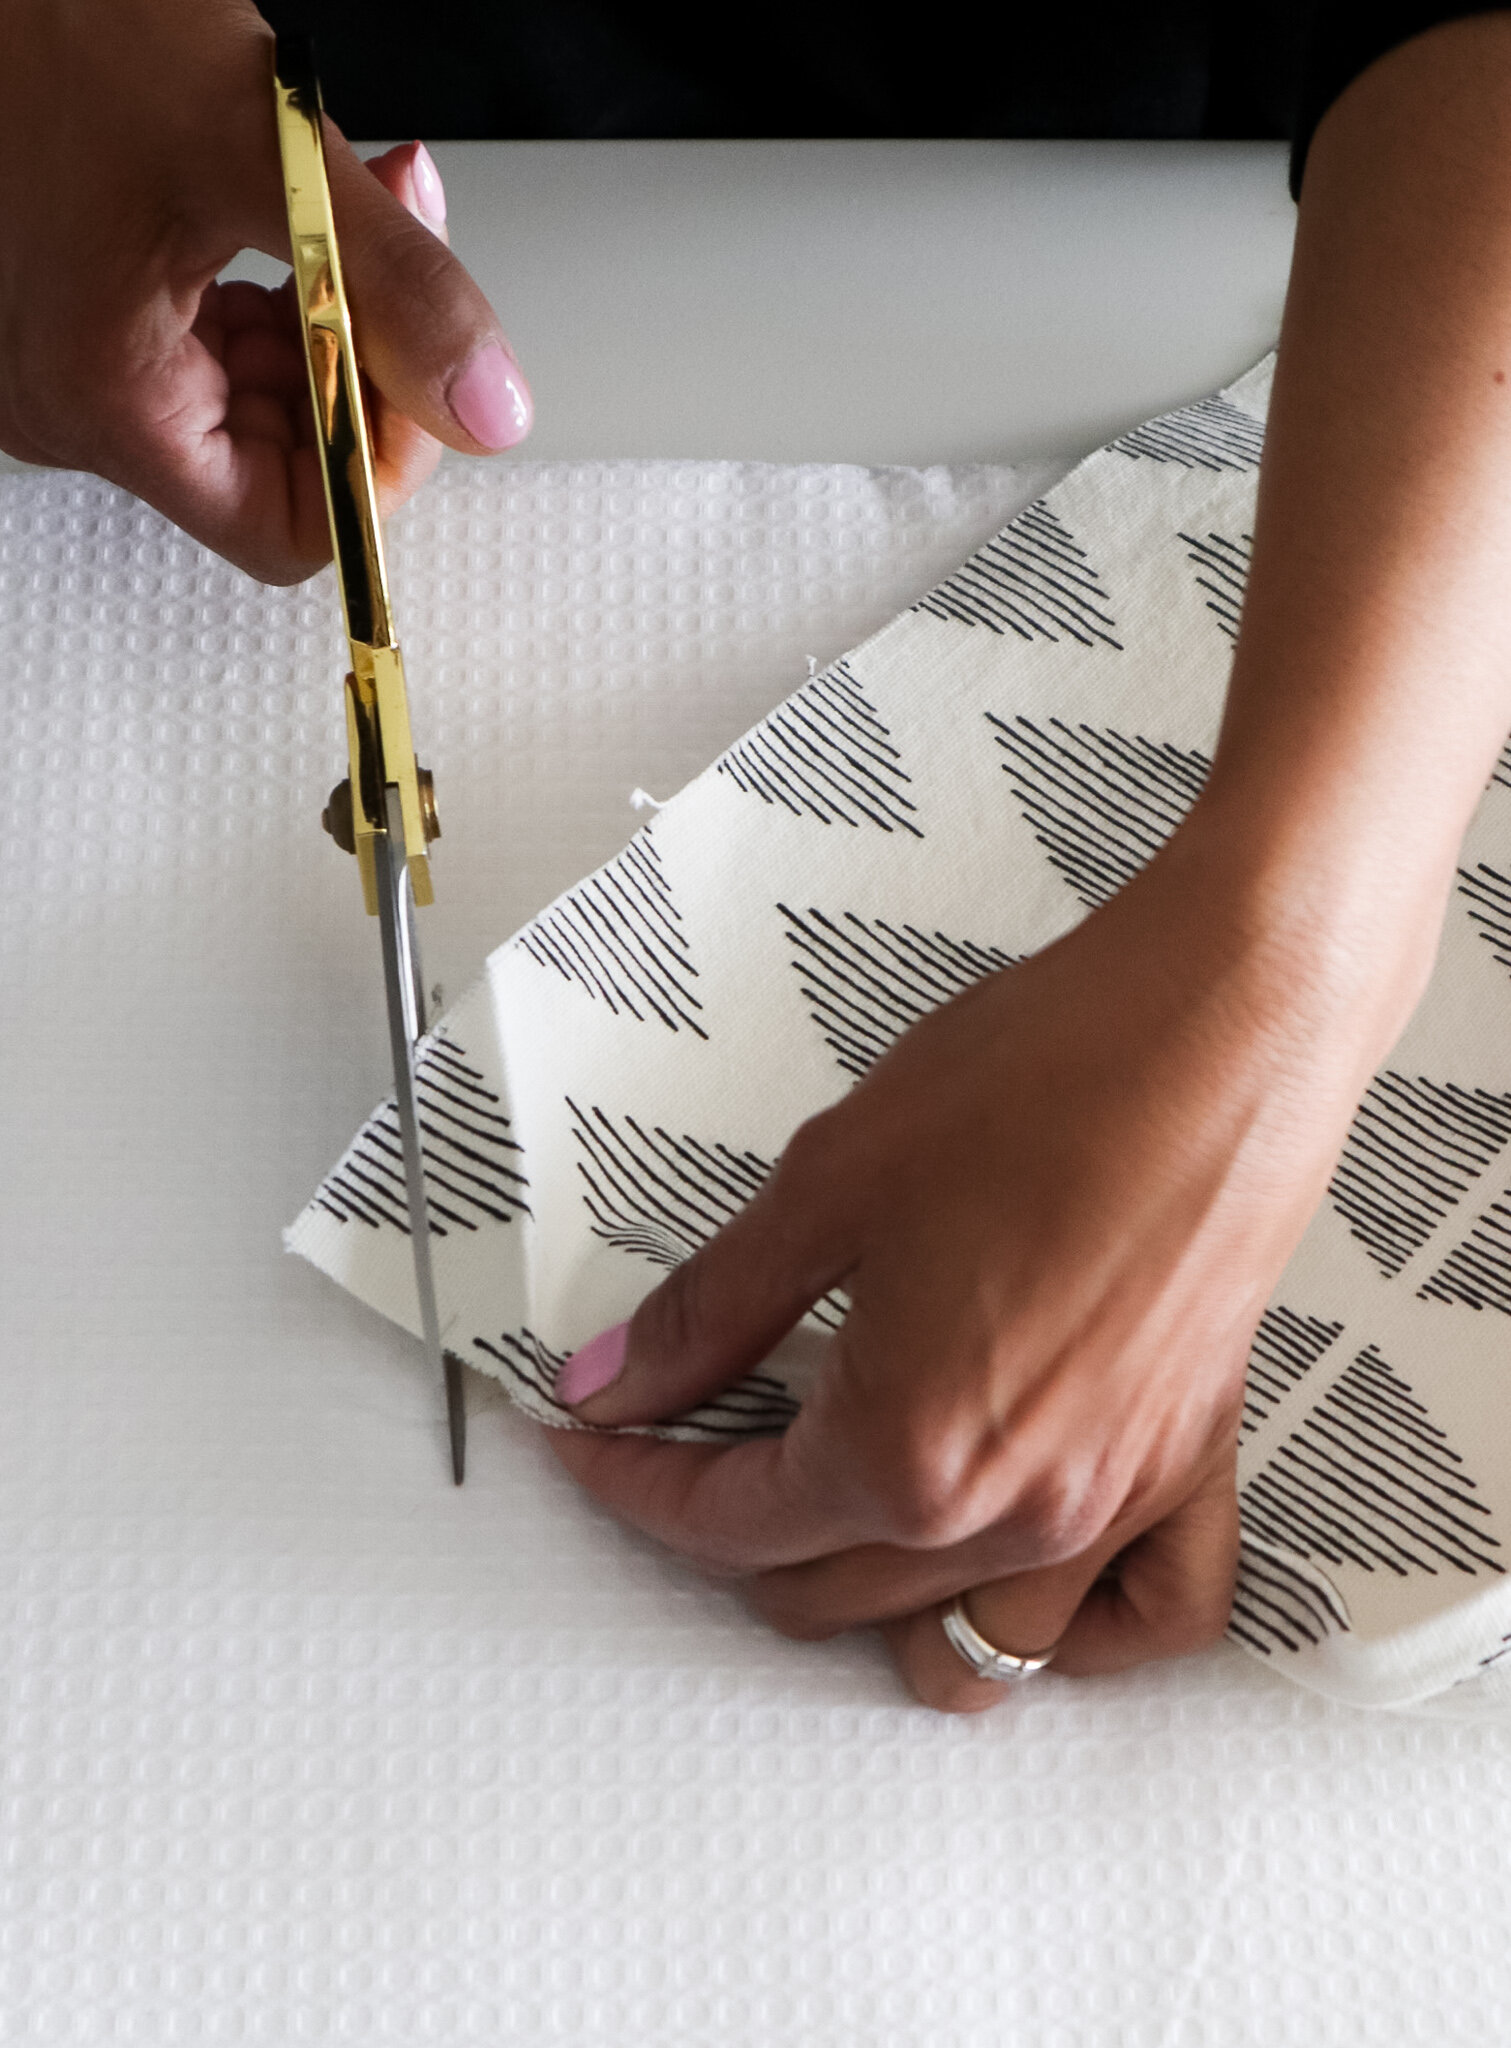
4. Cut out the square.
Tip: To have all napkins match, use the first square of fabric you cut as a template for the subsequent squares. With right sides up, lay it over the fabric, matching patterns, and cut around the square.
Note: Using scraps and remnants won’t always yield identical napkins, but this is also part of the charm!
5. With the wrong side facing up, fold over each corner to form a triangle measuring 2” on each short side. Press.
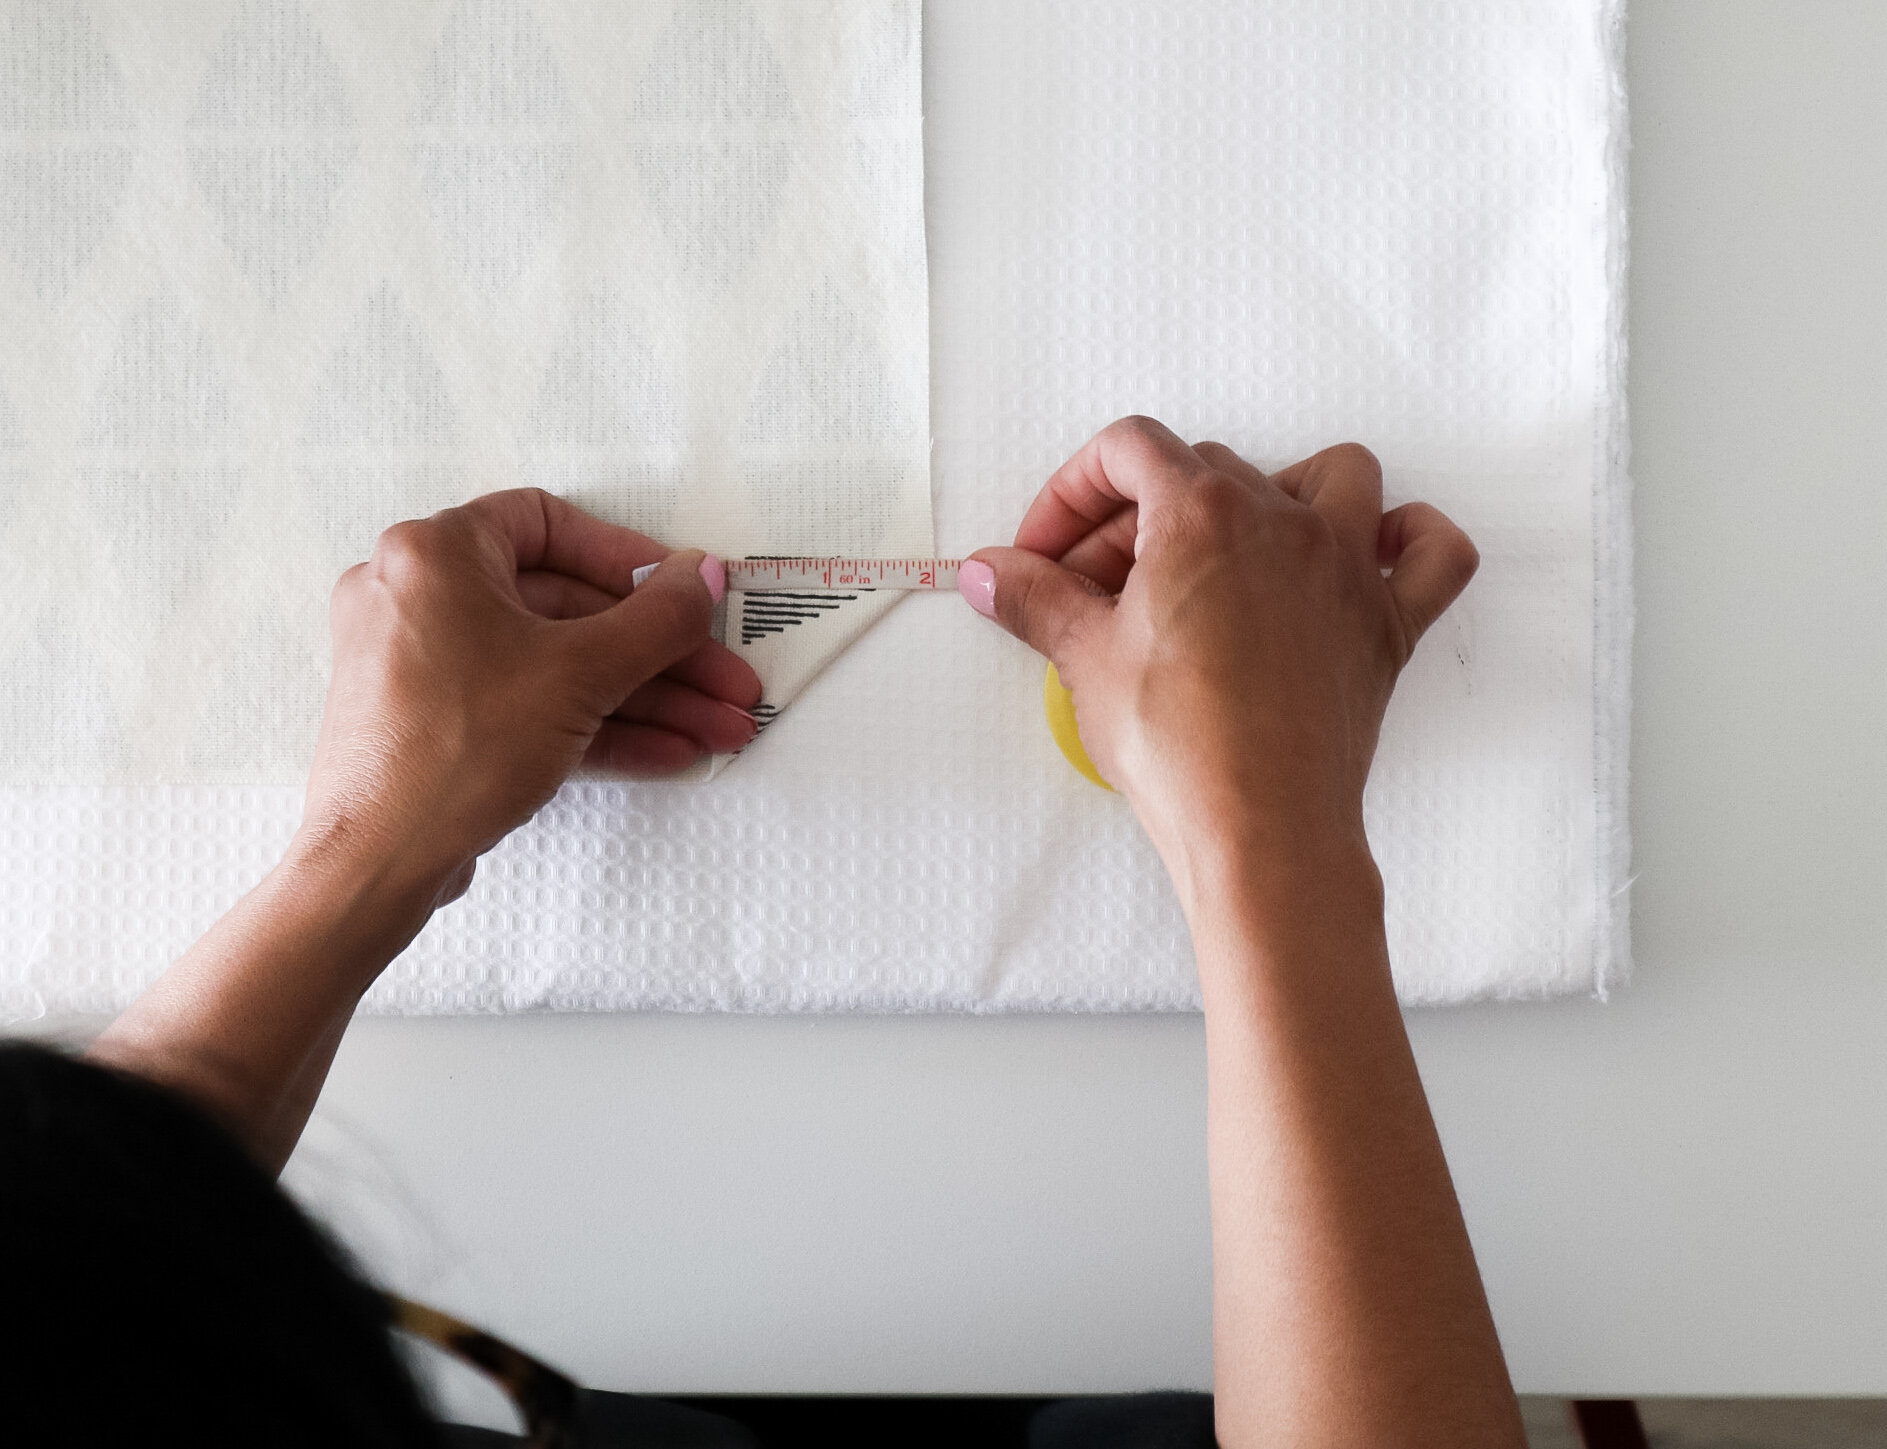
6. Trim tip of triangle to ½” from folded edge. This will produce a mitred corner after the hem is pressed.
7. Fold each side over 1“ and press.
Tip: Draw pencil lines on the back of the napkin 1” in from the edge, and fold along it, to help keep your hem uniform.

8. Next fold the raw edge in ½” to meet the crease and press. Repeat on all 4 sides.

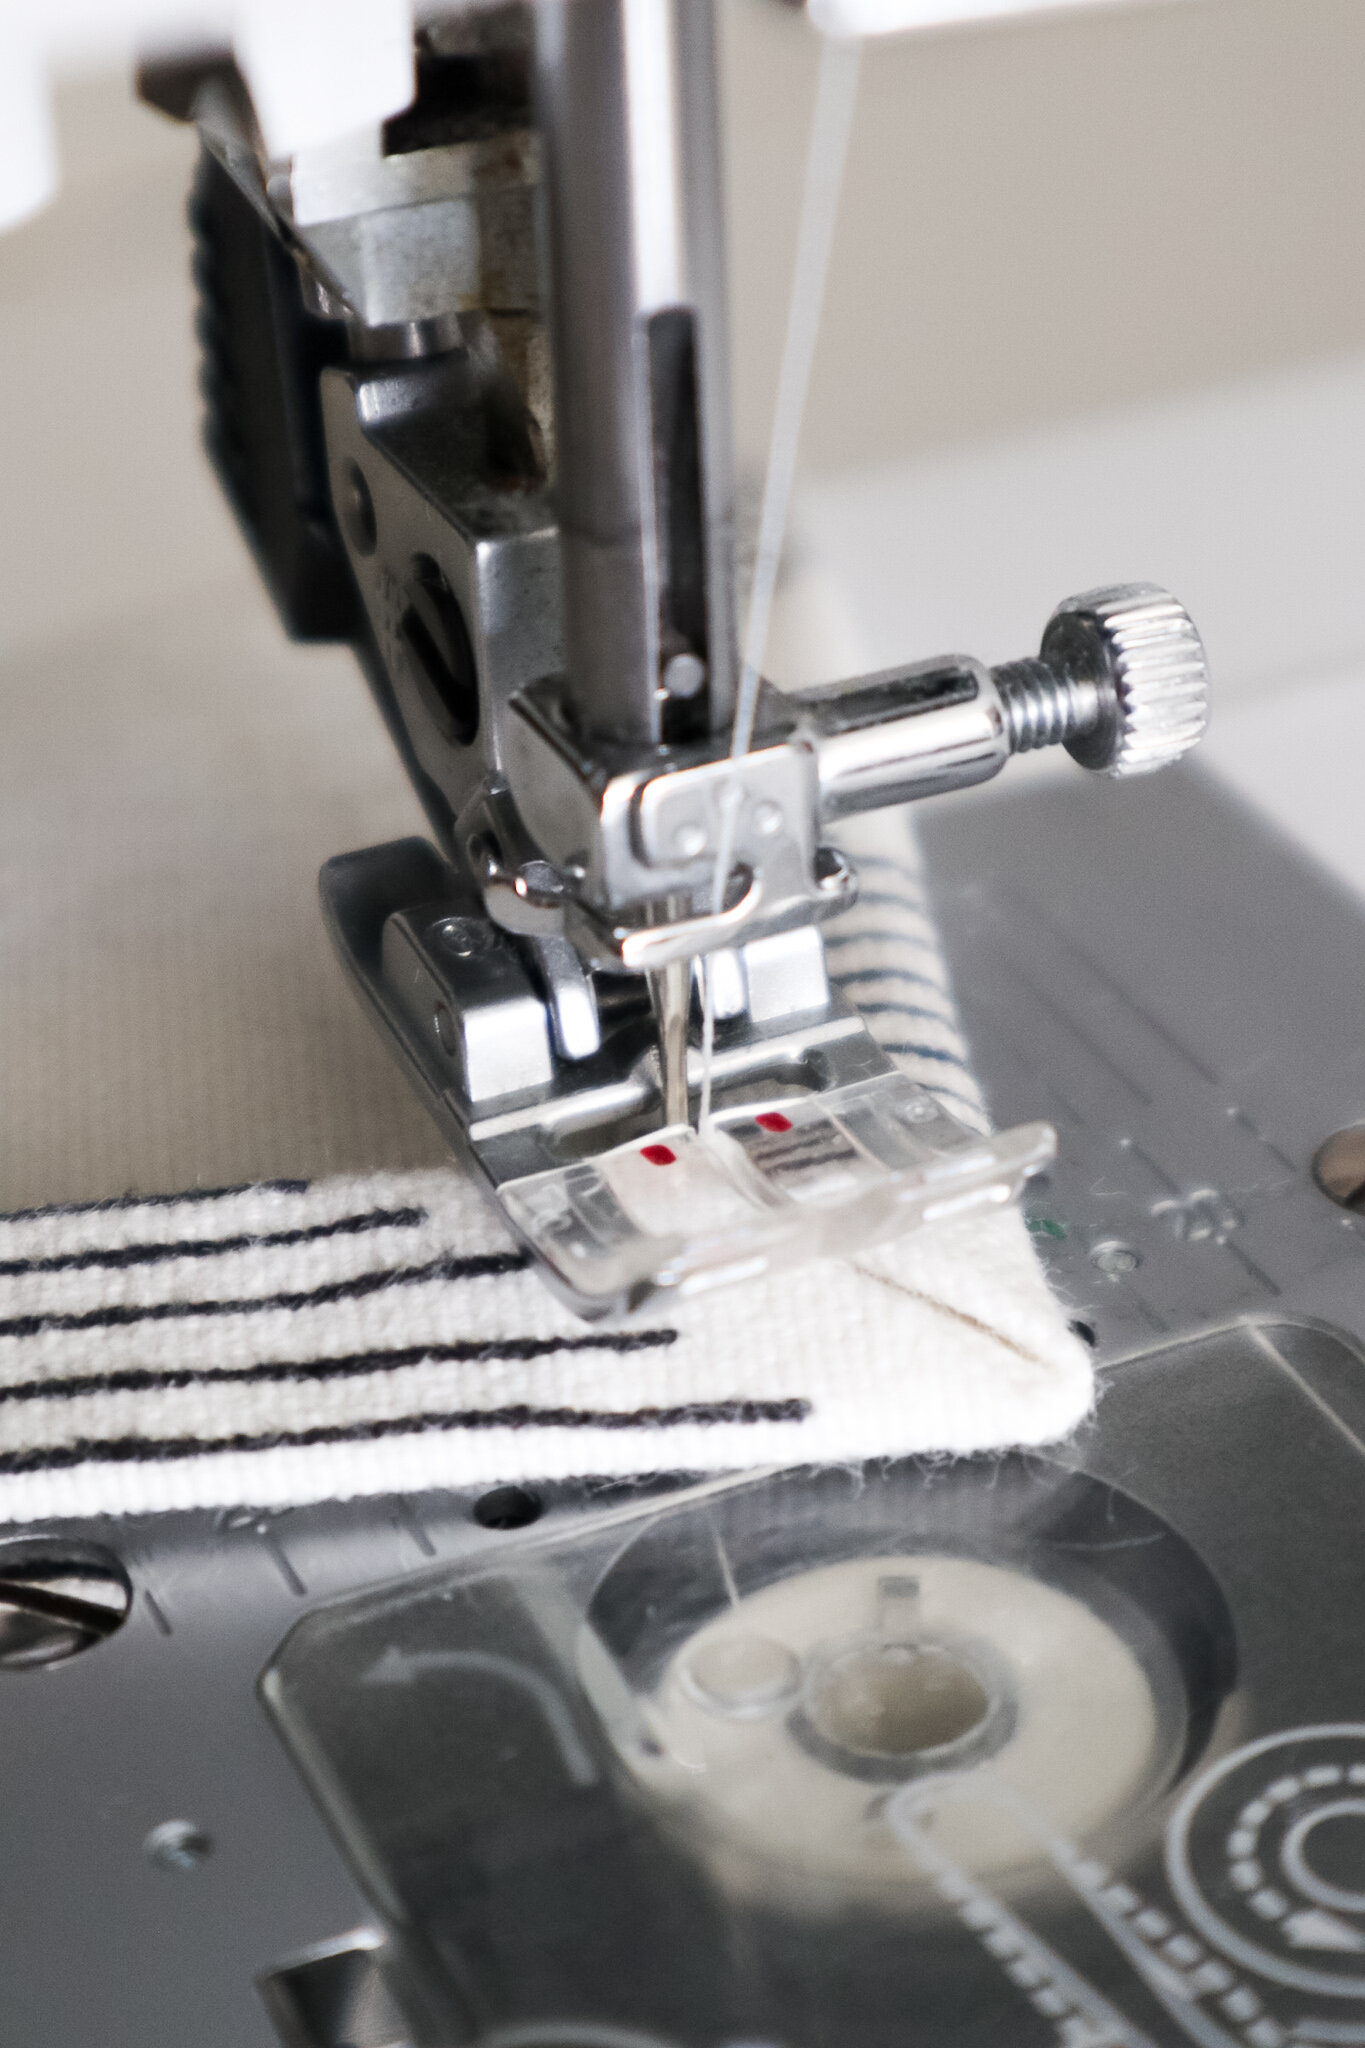
9. It’s time to sew! On the back of the napkin, top stitch close to the inner folded edge of the hem:
Tip: Use a longer stitch than your machine default. Increasing the setting to 3.8 helps to minimize shifting, and is easier to rip out if you make a mistake!

a. Begin stitching about an inch from the corner.
b. Backstitch 2-3 stitches to secure stitching, then proceed around the perimeter. of the napkin, pivoting at each corner with the needle down in mitre.
c. When you reach the starting point, secure with a backstitch.

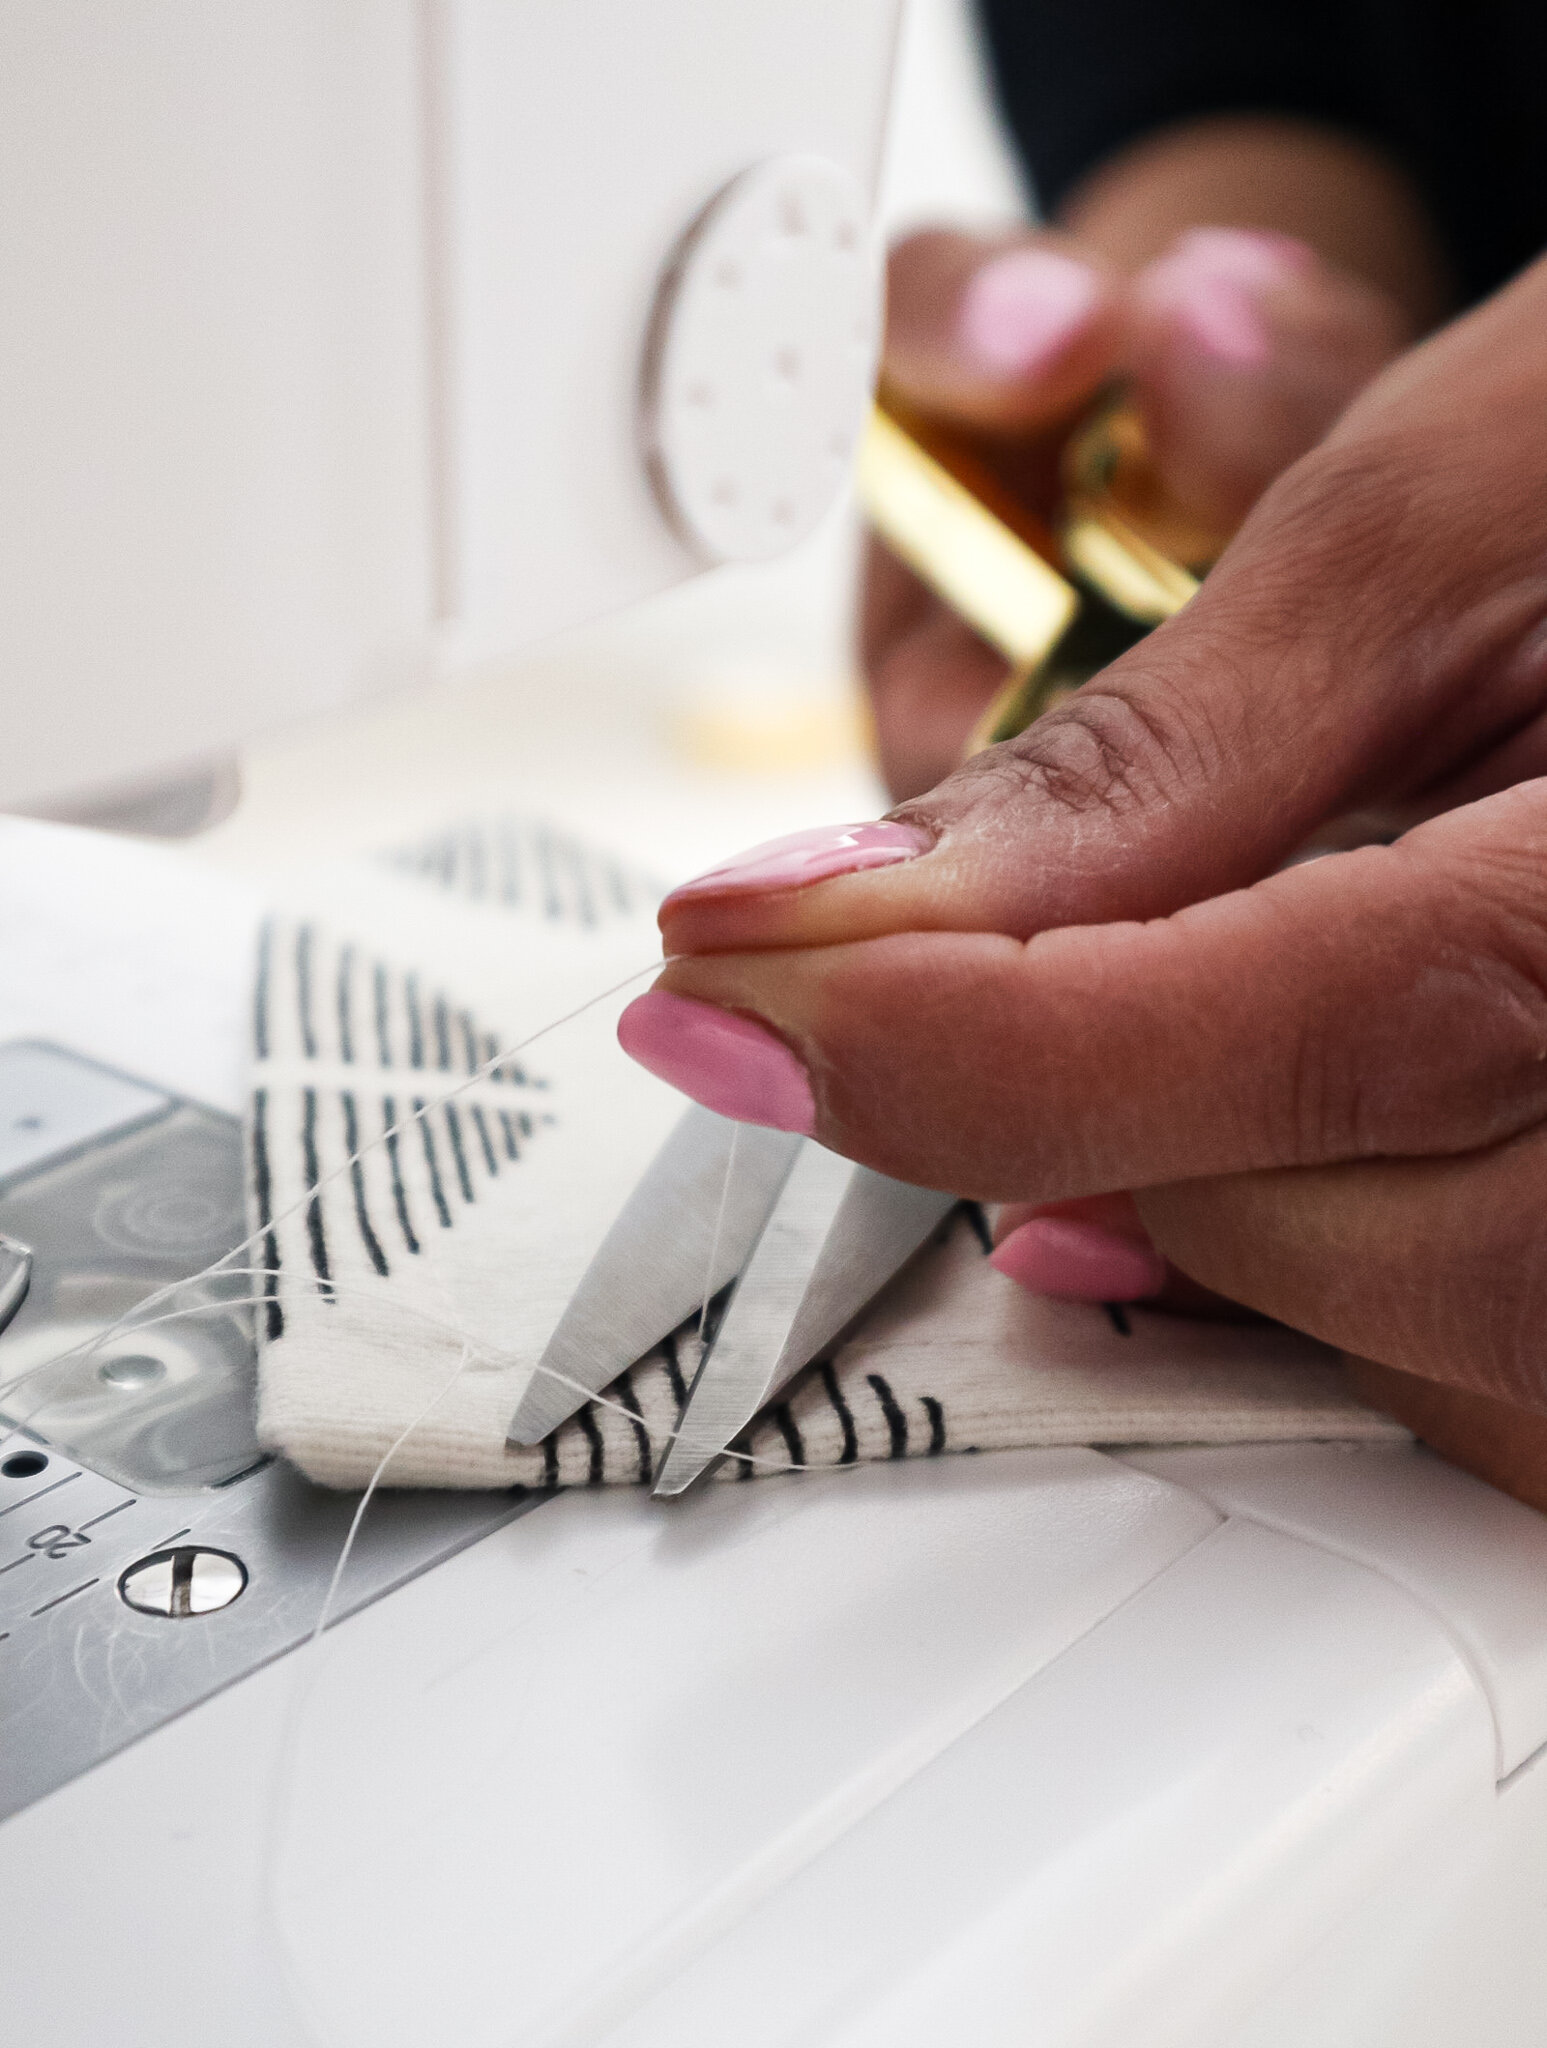
10. Remove napkin from machine and trim threads
11. Repeat with as many napkins as you’d like to make.
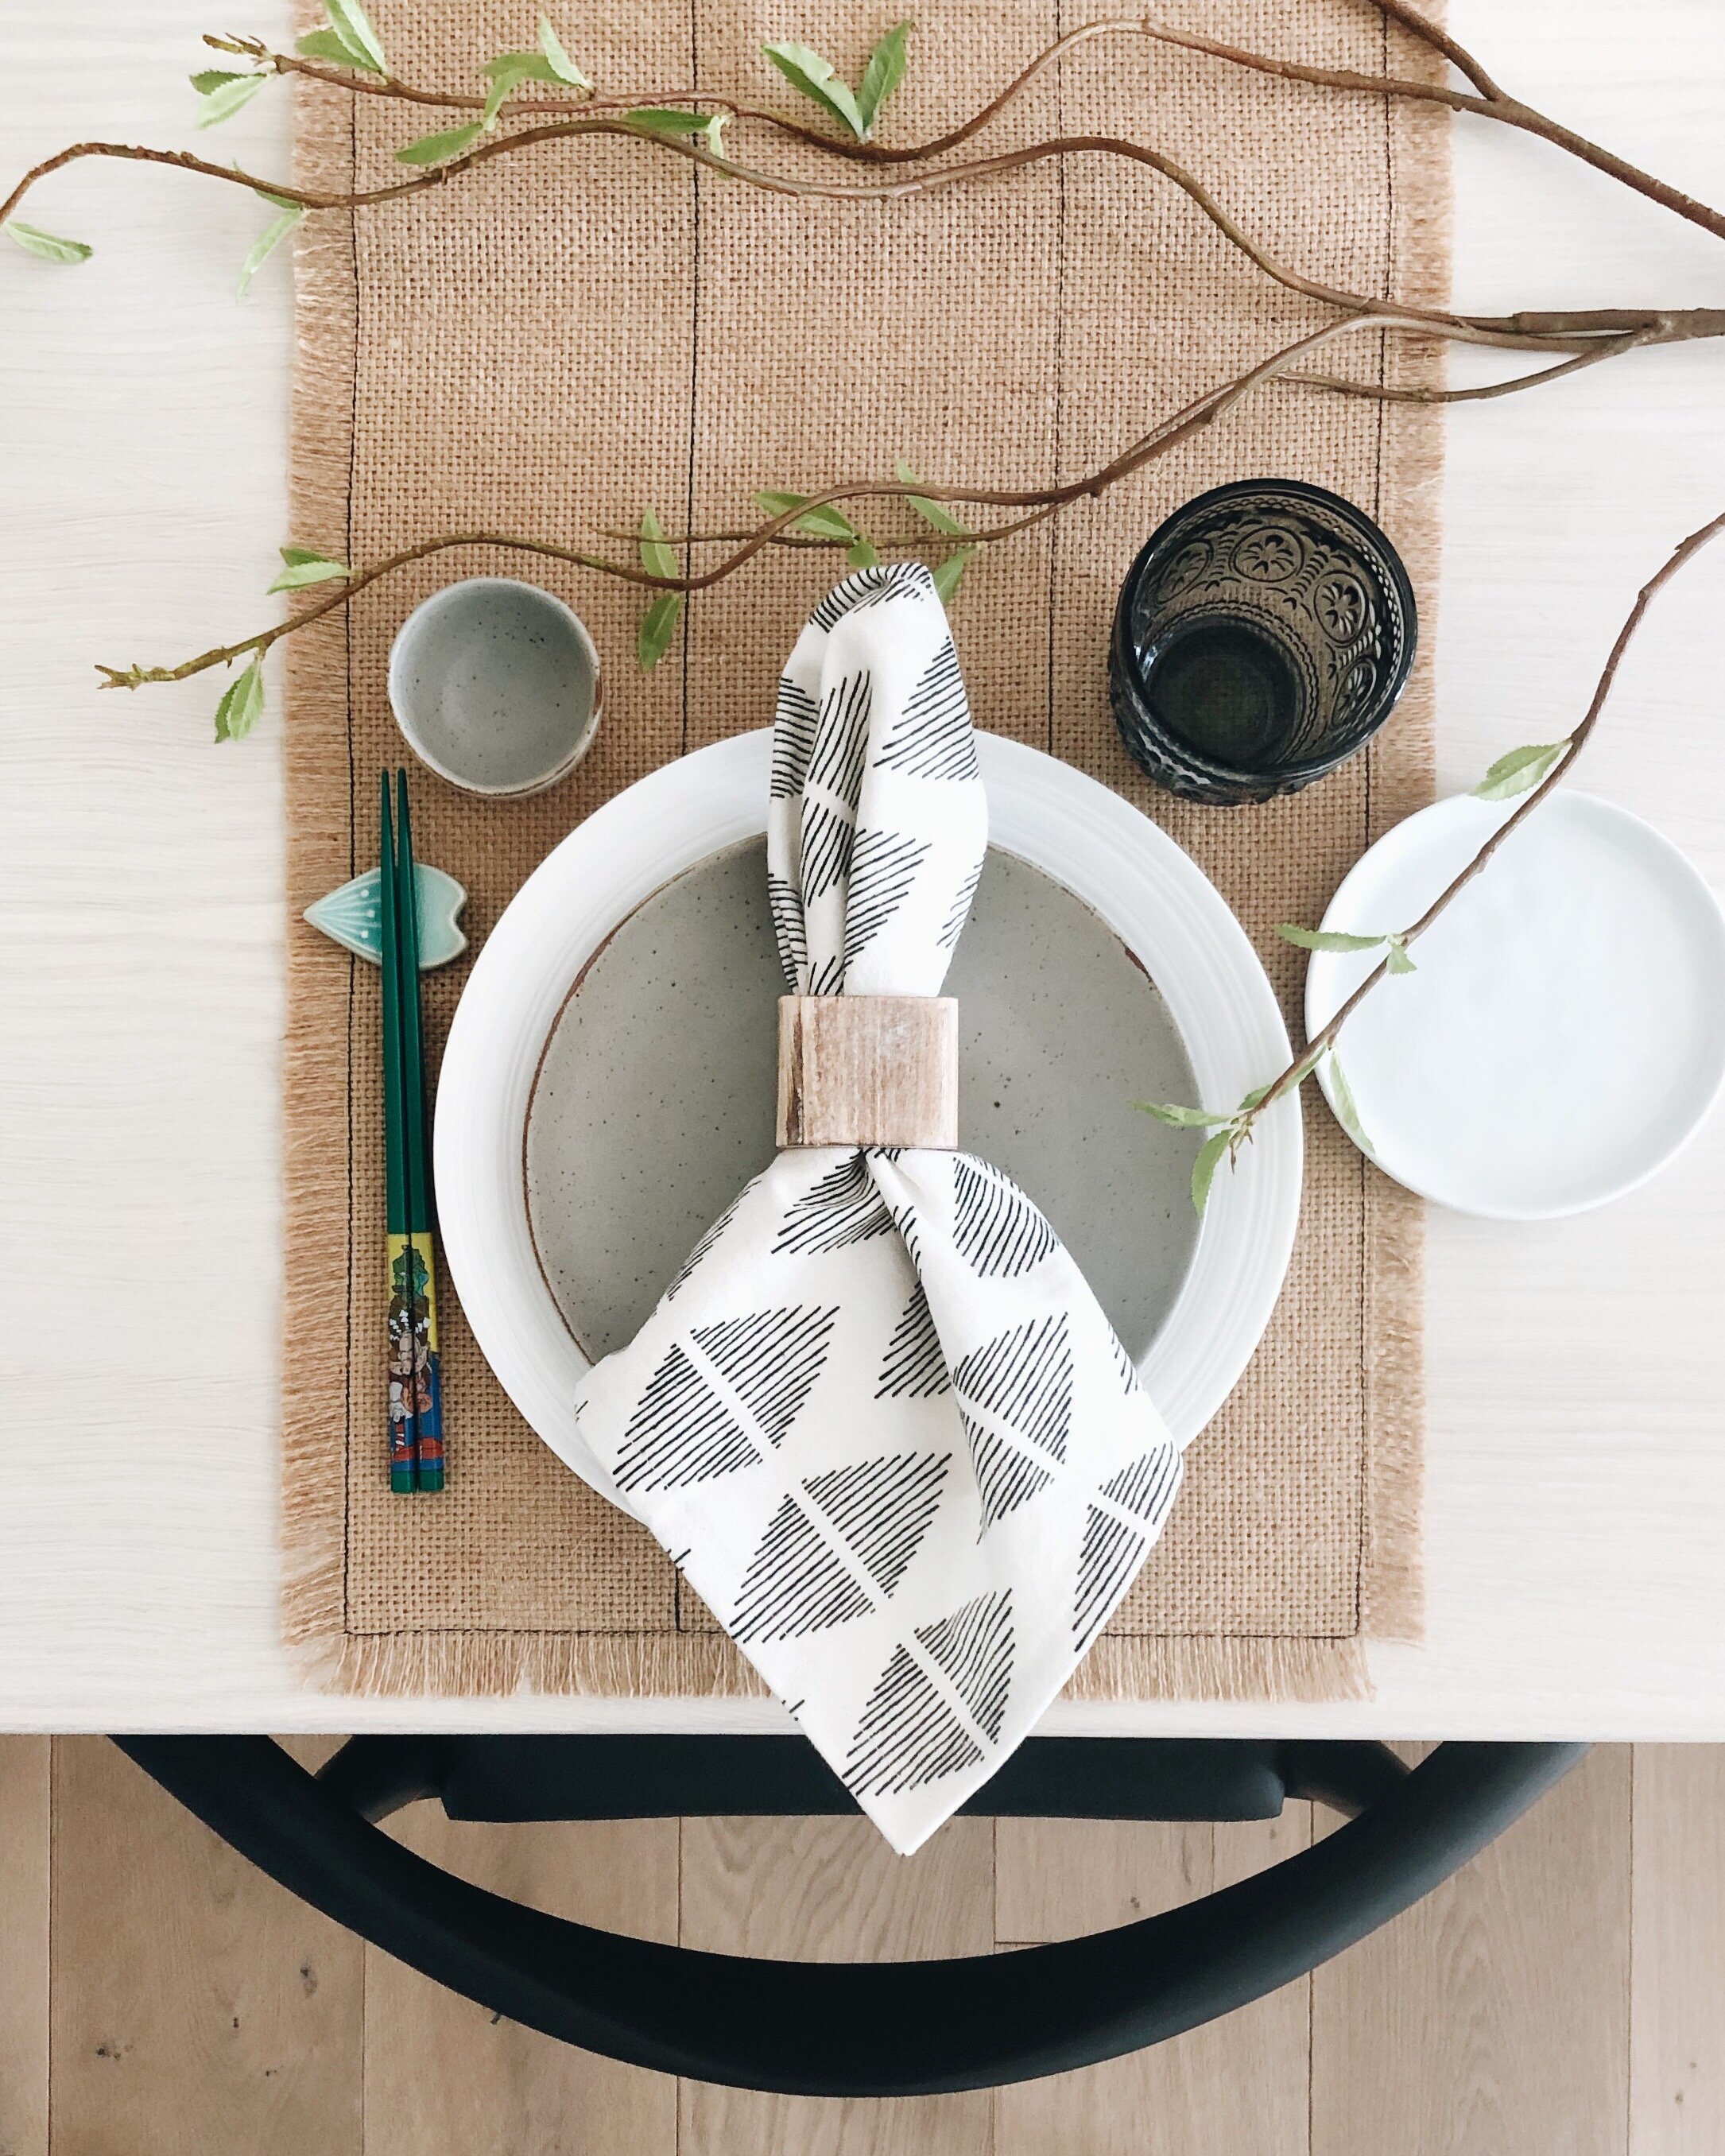
12. Set a stylish table with your new napkins!
DIY napkins are a great way to use scraps of fabric and customize your table settings to your decor. They’re super easy to make and the time spent is methodical, relaxing and ultimately so rewarding!
Check out 3 Ways to Style Your Cloth Napkins for inspo for your next dinner party!